Facilitating Client Success with ProjectionLab Pro
This guide will walk you through the key features of our Pro dashboard, designed to ensure seamless interaction with all your clients.
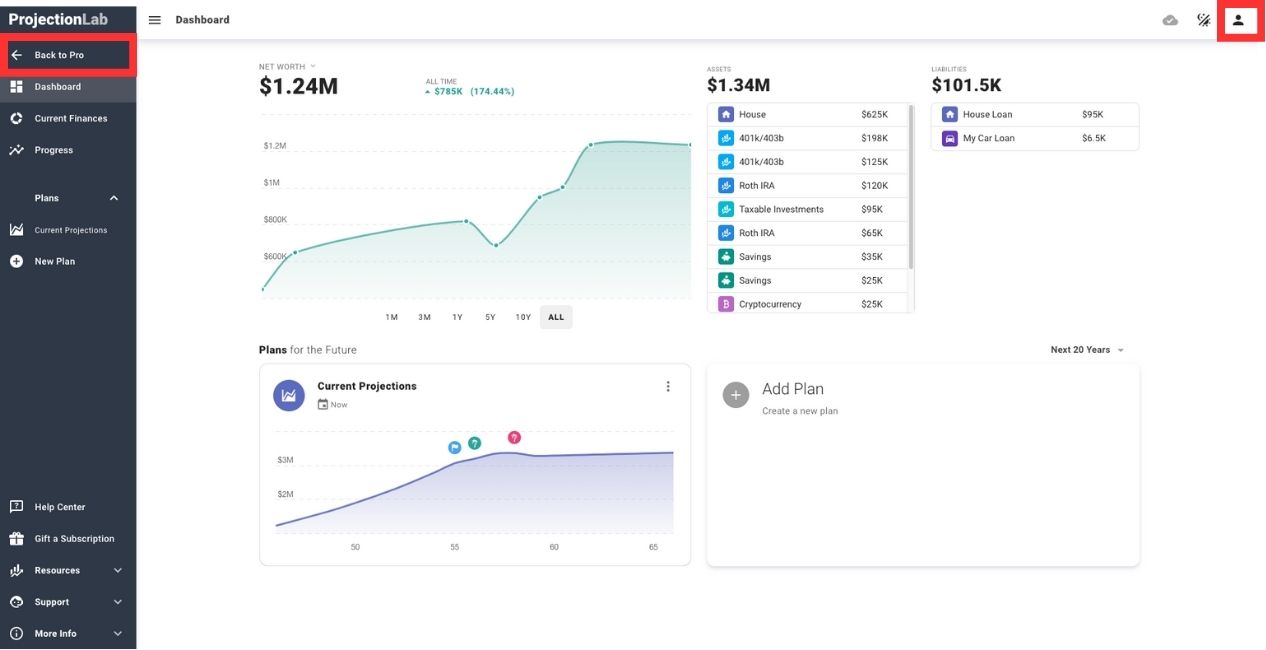
The Pro Dashboard
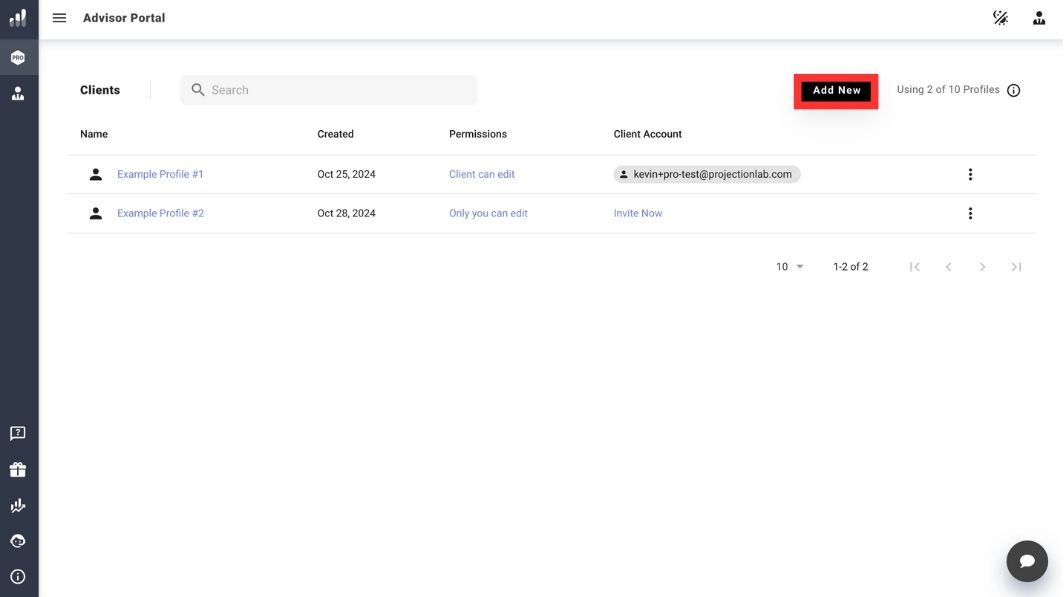
Your Pro Dashboard serves as the central hub for managing all client accounts. Its intuitive interface provides a comprehensive view of your entire client portfolio, allowing you to quickly access and interact with individual client plans.
Adding New Clients
- Click the “Add New” button in the top right corner of your dashboard`
- Enter the client’s name
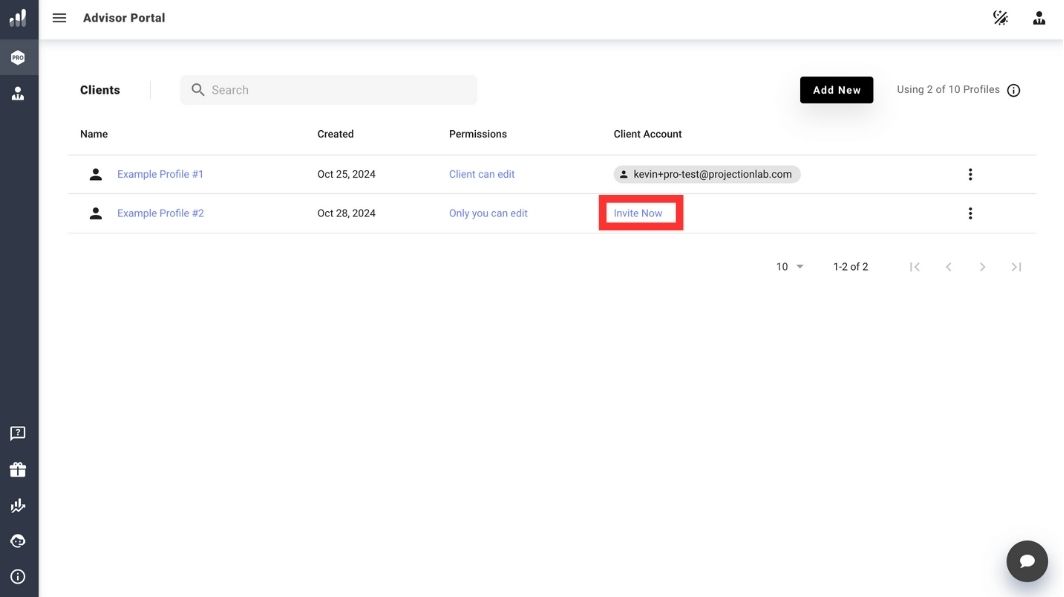
- Send the client their designated invite link
Client Permissions
Choose between two permission settings:
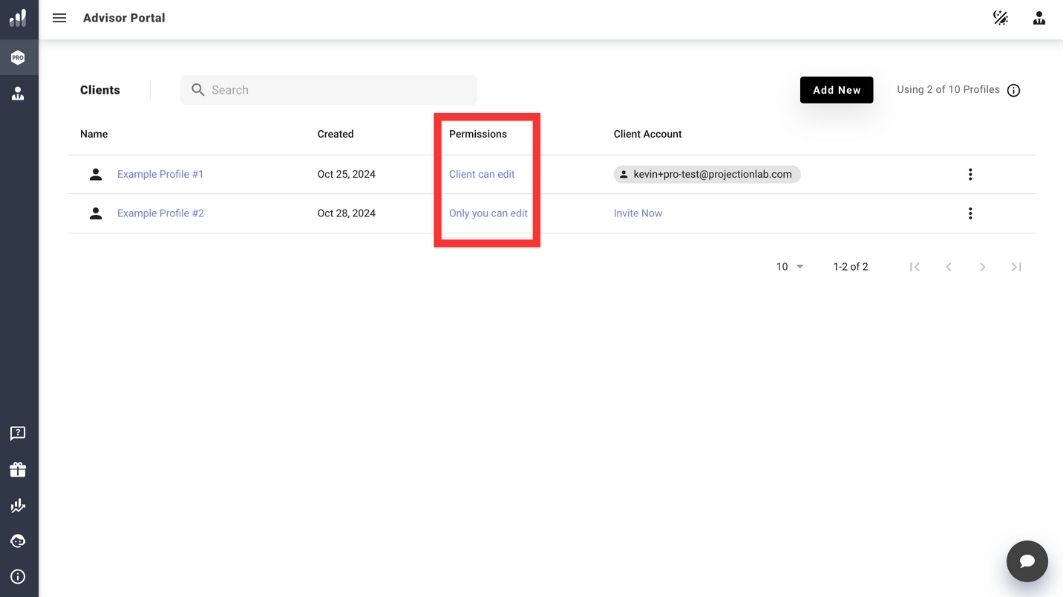
- Only You Can Edit: Clients can view their plans and experiment with changes without the ability to save modifications. Ideal for guided sessions and presentations.
- Client Can Edit: Grant clients the freedom to make and save changes to their plans independently. Good for hands-on clients or collaborative planning sessions.
How to Register a Client
- Send the link to your client via email or a preferred communication method
- The client clicks the link and completes the user-friendly onboarding process
- Once registered, the client appears on your dashboard, ready for collaboration
Accessing Client Plans
- Click on a client’s name from your dashboard
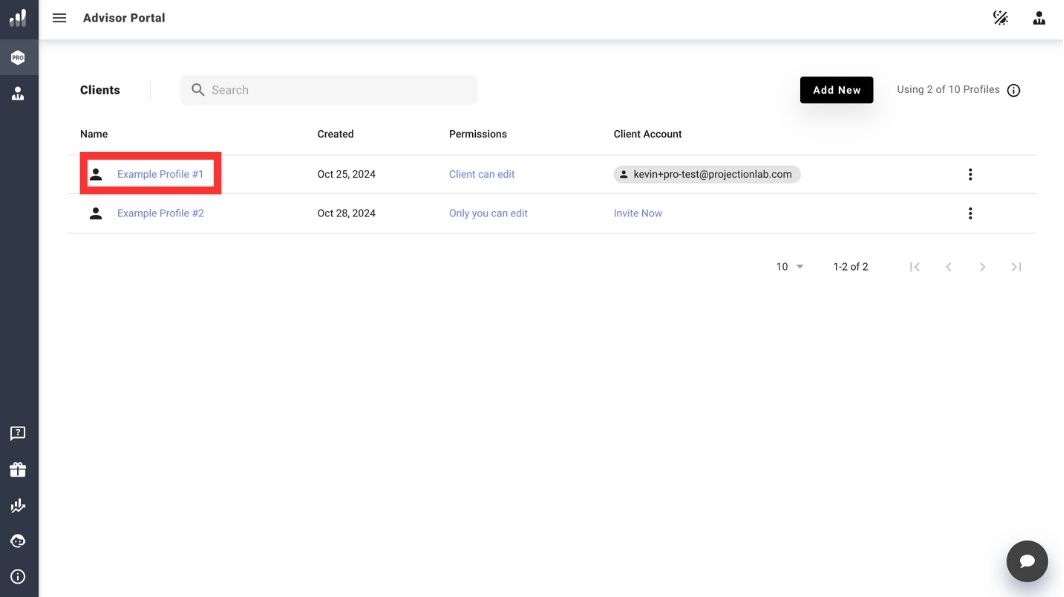
- You’ll be directed to their personal ProjectionLab financial planning dashboard
Unlinking Client Accounts
To remove a client from your Pro Account:
- Locate the client on your dashboard
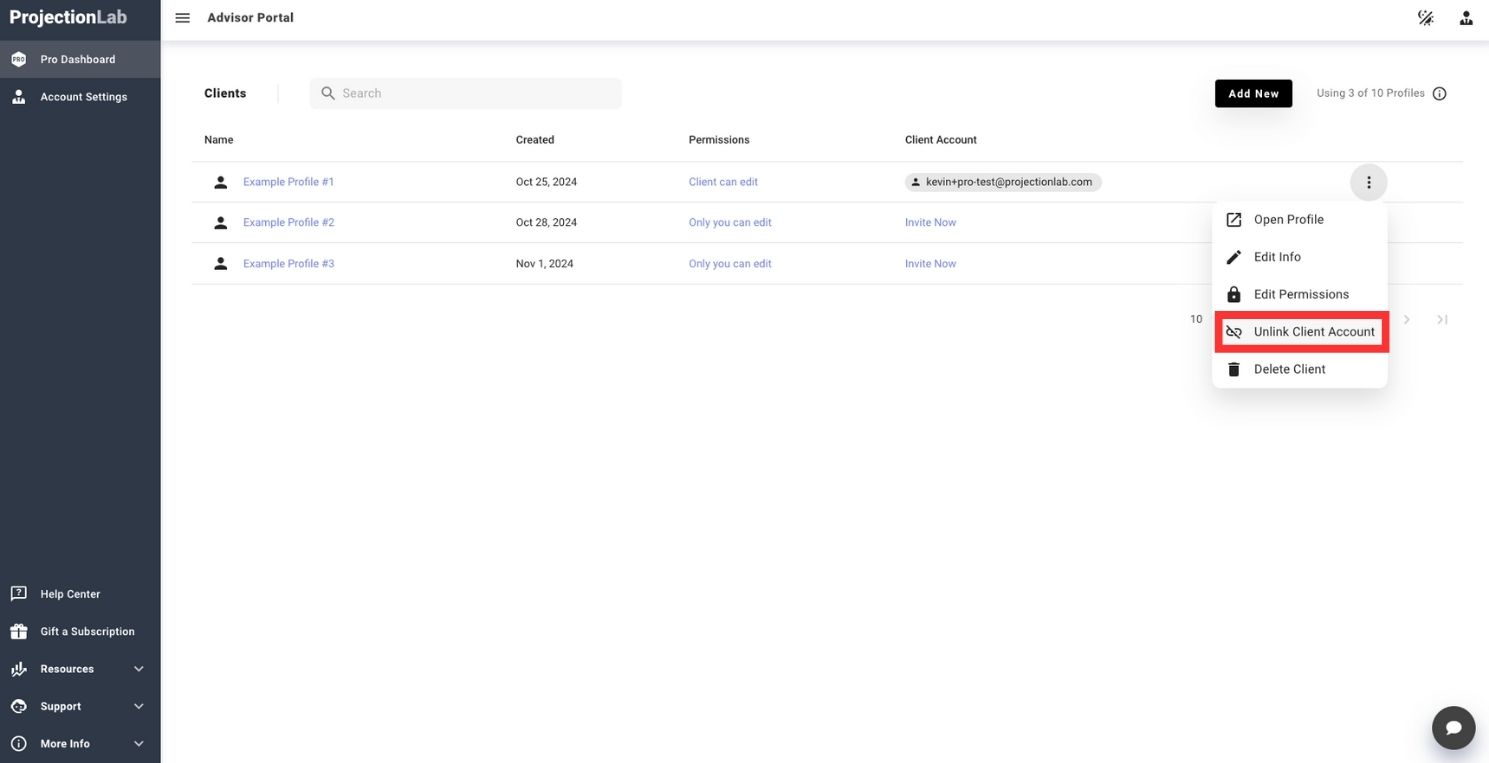
- Click the three-dots menu next to their name
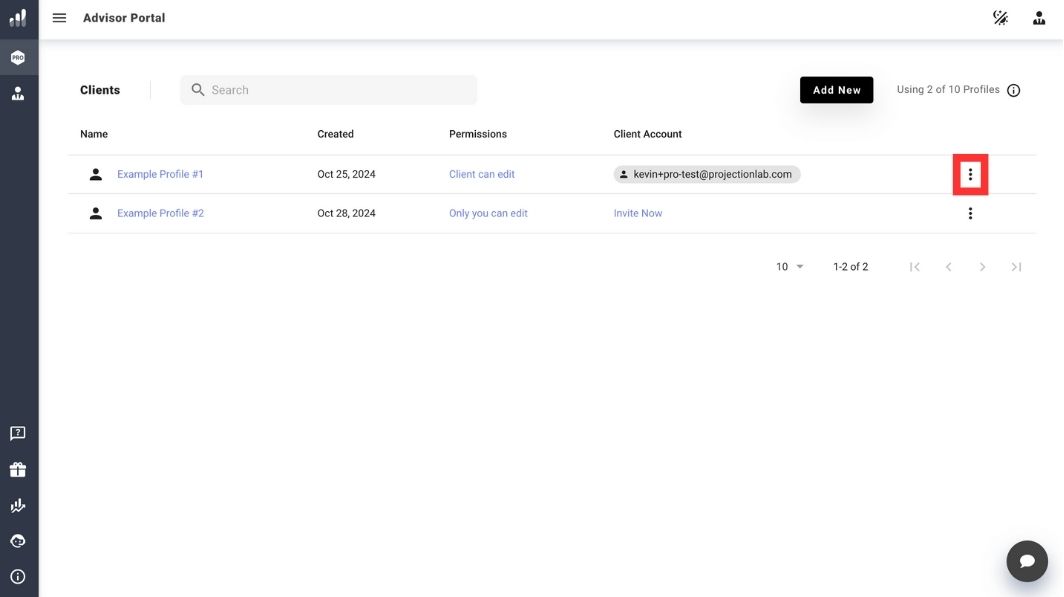
- Select “Unlink Client Account”
With ProjectionLab Pro, you can quickly grow your client list and seamlessly facilitate their planning success!
Related
Disclaimer: The content, tools, and resources on ProjectionLab.com are intended solely for informational and educational purposes and should not be construed as professional financial or investment advice. Our materials are designed to provide general guidance and are based on the input and data provided by users. ProjectionLab makes no guarantee of the accuracy, completeness, or applicability of this content to individual circumstances. Effective financial planning and investment involve comprehensive consideration of a wide array of personal financial factors. The tools and resources available on ProjectionLab are aimed at helping users develop an understanding of their financial trajectory. However, they should not be solely relied upon for creating a complete financial plan. We strongly recommend consulting a financial services professional who can provide personalized advice based on your unique financial situation before making any significant financial decisions. While we endeavor to keep the information on ProjectionLab current and accurate, the content may differ from that found on other financial institutions, service providers, or specific product sites. All content and tools on ProjectionLab are provided without any guarantees or warranties of any kind.